Sunday, October 24, 2010

 Enjoy!
Turtle Rice Krispy TreatsIngredients:
3 tablespoons butter
4 cups miniature marshmallows (or one bag large marshmallows, about 40)
1 1/4 cup semi-sweet chocolate chips
6 cups Rice Krispies cereal
1/3 cup caramel ice cream topping
1/3 cup pecan pieces
1/3 cup Heath toffee bits (optional)

Directions:
Spray a 9 x 13-inch baking pan generously with nonstick cooking spray. In a large pan on the stovetop, melt the butter over medium-low heat. Add the marshmallows and stir until the mixture is melted and smooth. Add the chocolate chips and stir until smooth. Add the rice krispy cereal. Stir until thoroughly combined. Press the mixture to the prepared pan with buttered fingers or a spatula. Drizzle ice cream topping all over the mixture (you may need to warm it a little first in the microwave). Sprinkle pecan pieces and Heath toffee bits on top. Press lightly to make sure they stick onto the bars.
When cool, cut into squares and enjoy!
HOw to Make Your Own Brown Sugar
Brown Sugar


Ingredients:

2 Pounds of Sugar
6 ounces of Molasses

Put Sugar and Molasses in food processor and pulse a few times until incorporated. Store in airtight container for 30 days

HOw Was ScHool TodAy??

When the kids get home from school they usually ALL have something to tell me & usually at the same time. I want to hear about it all but one at a time. I thought about it and today I'm going to try something new. . .

1- they need to pick a numbered stick/coin.


2- then they get time on the timer. . 


3- but if, by chance, they do run out of something to say or need some help they can pick a question stick(the ones with the colored tip facing out of the cup).


I colored the tip of each stick and taped the question on. When they are done answering that question they put the colored side down in the cup. When all the "colored side" tips are down, you can turn them over and reuse them.


These are just a few questions I have but I'm trying to think of more. If you have any i would you to share.
1-Did you meet anyone new today?
2-What was your lunch time like?
3-Did you love the outfit you wore?
4-Name 2 fun things that happened in a class.
5-Did your teacher say something funny?
6-What was your favorite part of your lunch?
7-Did anything exciting happen on the bus?
8-What was your favorite assignment today?
9-What did you do in P.E. ?
10-What did you do in Math?
11-What did you do in Science?
12-Tell me about your favorite part of the book you are reading.
13-What did you & your friends do at recess?
14-Name 2 things you love about your school.
15-Did you help another teacher or student?
16-How do you feel you are doing in school?
17-What was your favorite part of the day?

Walmart in Utah

Today is one of those days I miss living in Utah and sharing in the food storage resources available even at the local Wal mart!

Homemade Baby Wipes


Yes, my kiddos are much too old for baby wipes but I used to get several requests for my babywipe
recipe. Just thought I would post in case someone wanted it. It is wonderful and I never ran out of baby wipes!!


1 ½ cups water
2 Tbsp. baby bath or shampoo
1 Tbsp. baby oil
1 roll paper towels
Mix the water, baby bath and baby oil in an empty round baby wipe container. Cut the paper towels in ½ using an electric knife. Remove core from the center. Place paper towels in wipe container. Let the paper towels soak up the water solution. Turn every few minutes to allow the solution to reach the middle of the paper towels. If there is still a dry spot in the middle, add a little more water and turn until soaked through. Pull the wipes from the middle of the roll through the top of the wipe container.

Saturday, October 23, 2010

There are so many times I find myself trying to use up produce from the garden or I bought too many carrots or zucchini coming out of my ears.... here are some recipes to help use it all up. We don't want anything to go to waste!
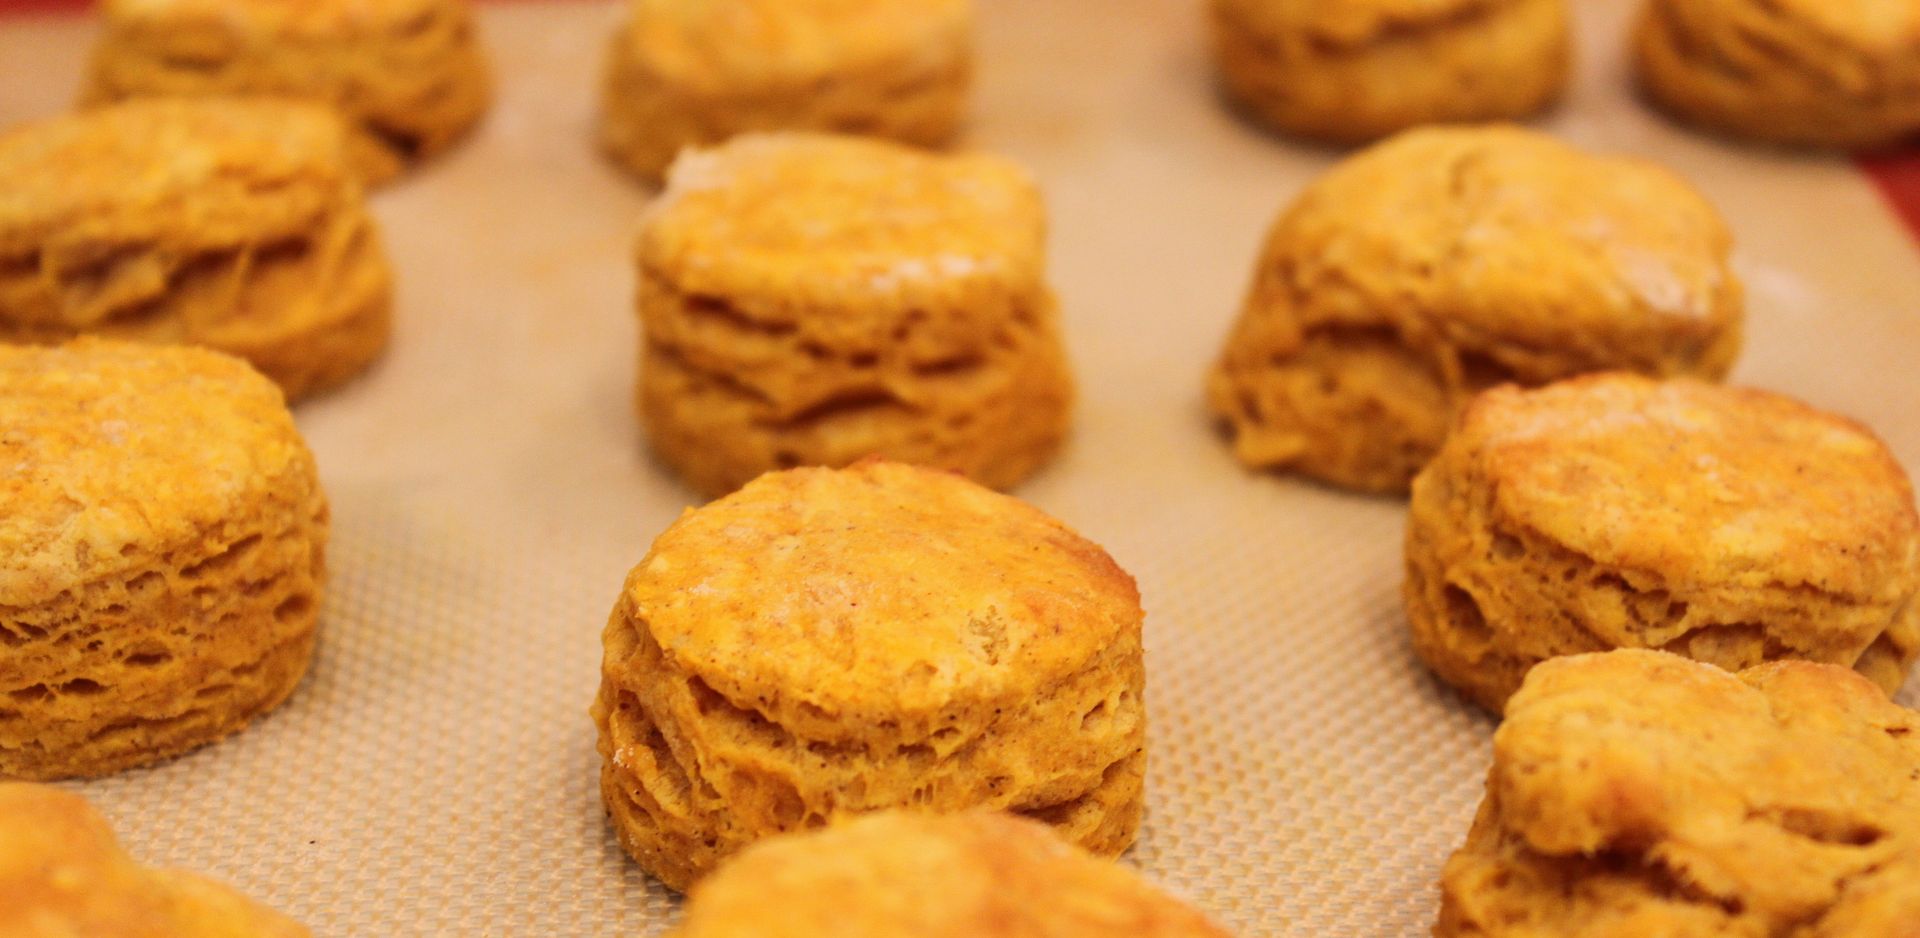
                                                            Pumpkin ButterMilk Biscuits


Ingredients

* 2 cups all-purpose flour 
* 2 1/2 teaspoons baking powder
* 1 teaspoon Kosher salt {or 1/2 tsp table salt}
* 1 1/2 teaspoons pumpkin pie spice
* 5 tablespoons chilled butter, cut into small pieces
* 1/3 cup buttermilk
* 3 tablespoons honey
* 3/4 cup packed canned pumpkin

Directions:

1. Combine flour, baking powder, pumpkin pie spice, and salt in a large bowl or in the food processor bowl; cut in butter with a pastry blender or pulse in a food processor until mixture resembles coarse meal. Transfer to a large mixing bowl and chill 10 minutes.

2. Combine buttermilk and honey, stirring with a whisk until well blended. Make a well in the center of the flour mixture and pour the buttermilk mixture into the well. Stir just until moist.

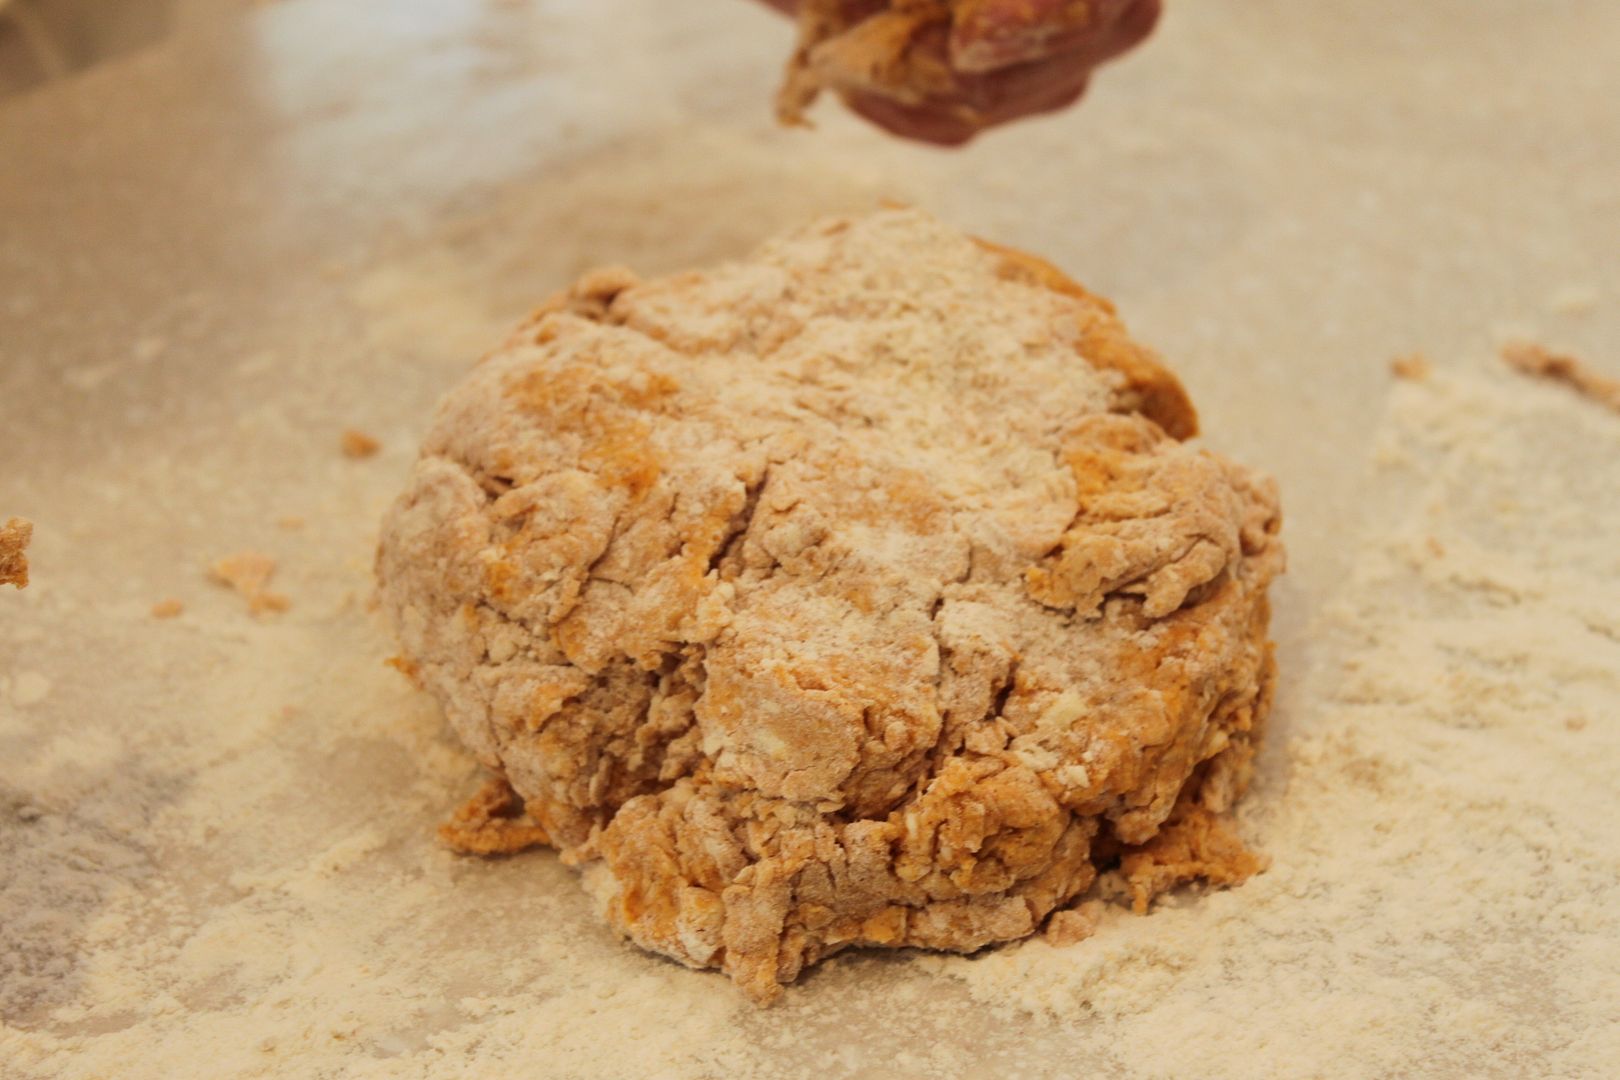
3. Turn dough out onto a lightly floured surface; knead lightly 4 times. 


Photobucket

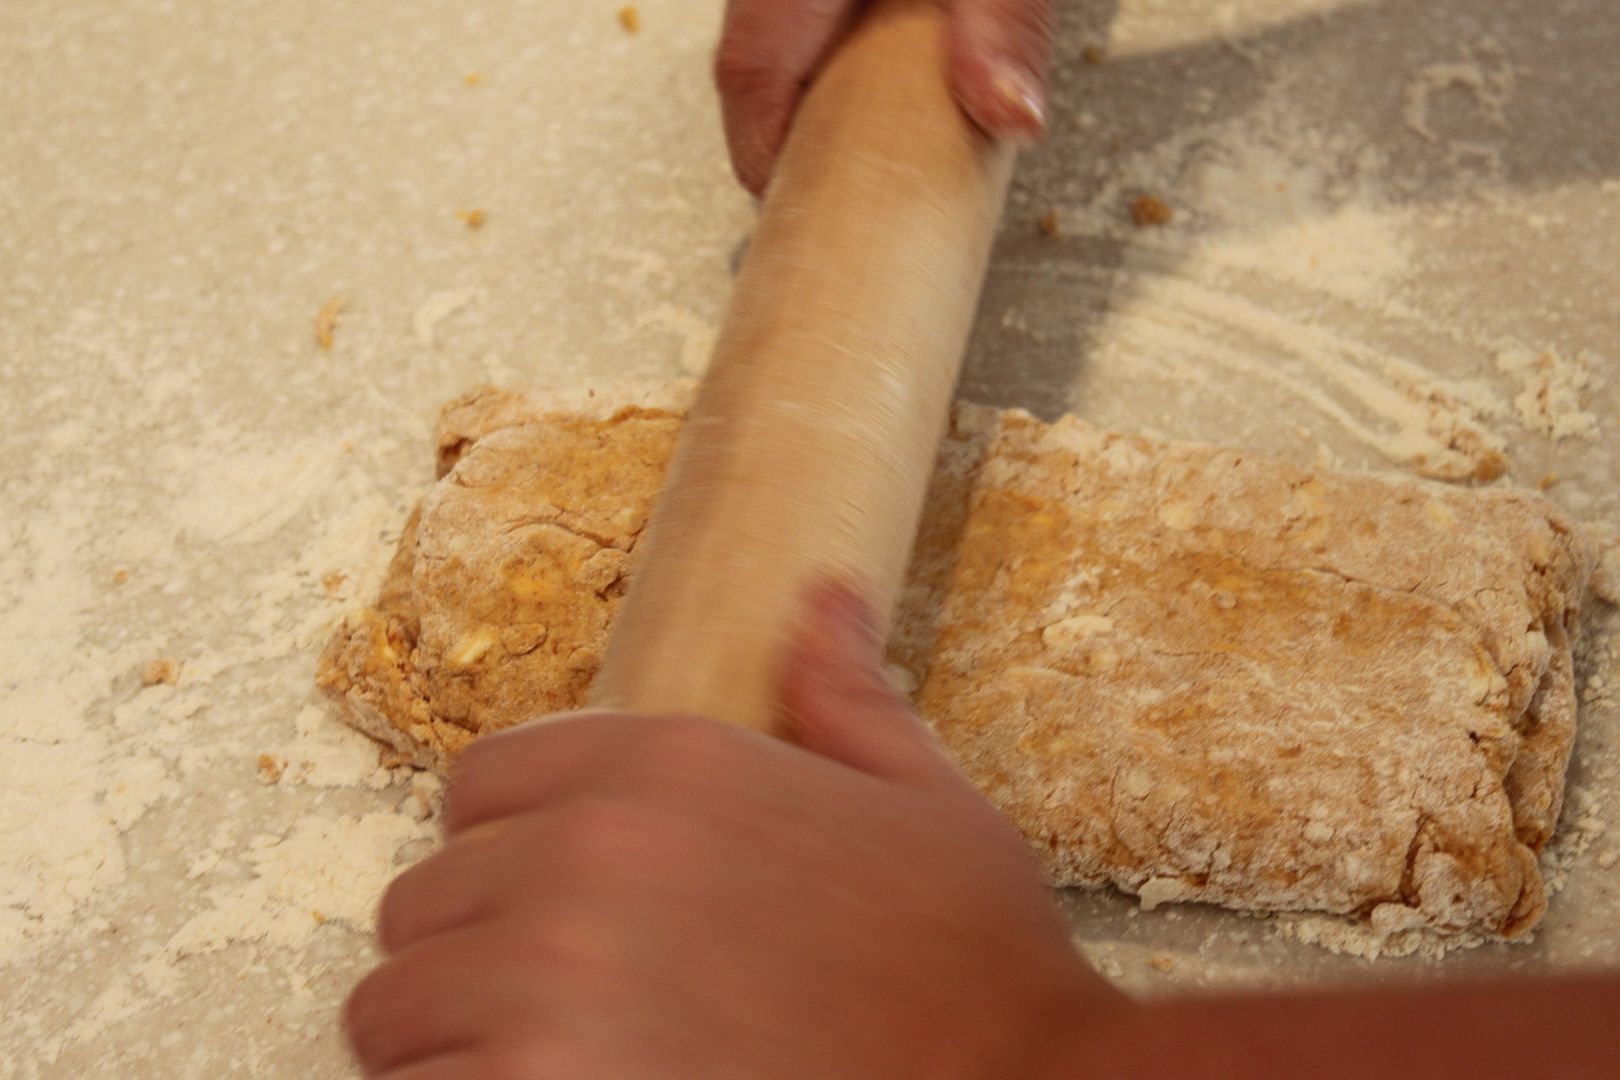
Roll dough into roughly a 9 x 5–inch rectangle; dust top of dough with flour. 

Photobucket


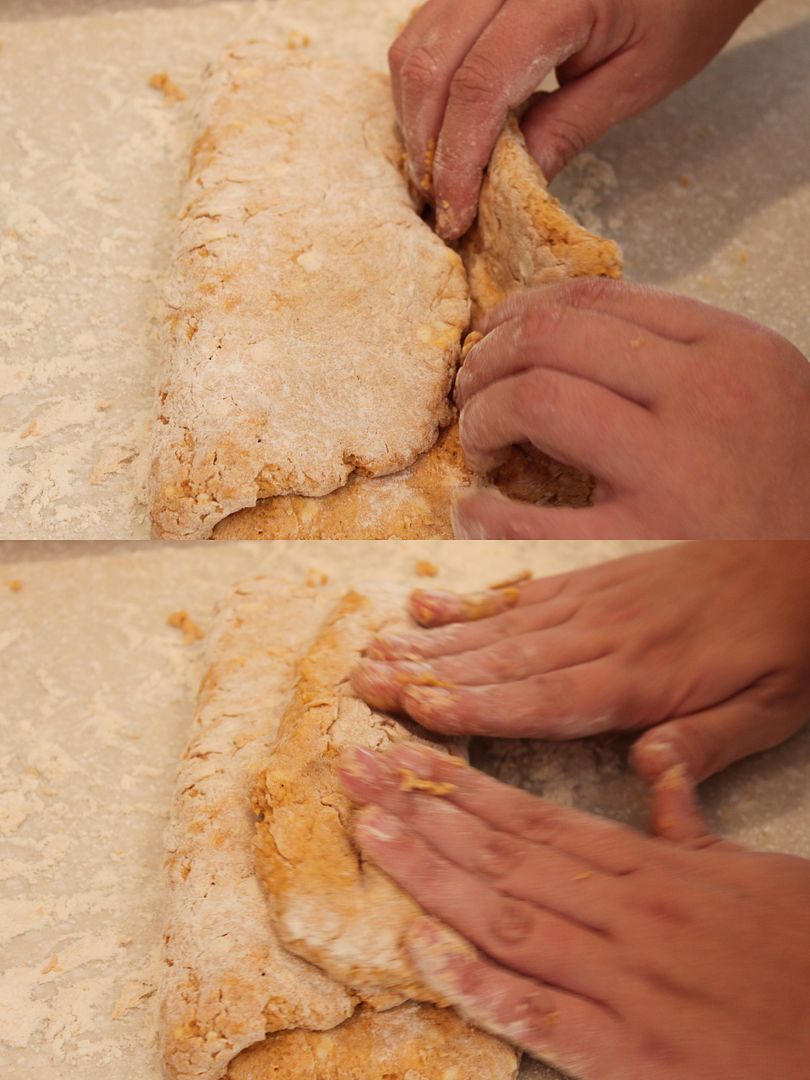
Fold dough crosswise into thirds. 

Photobucket

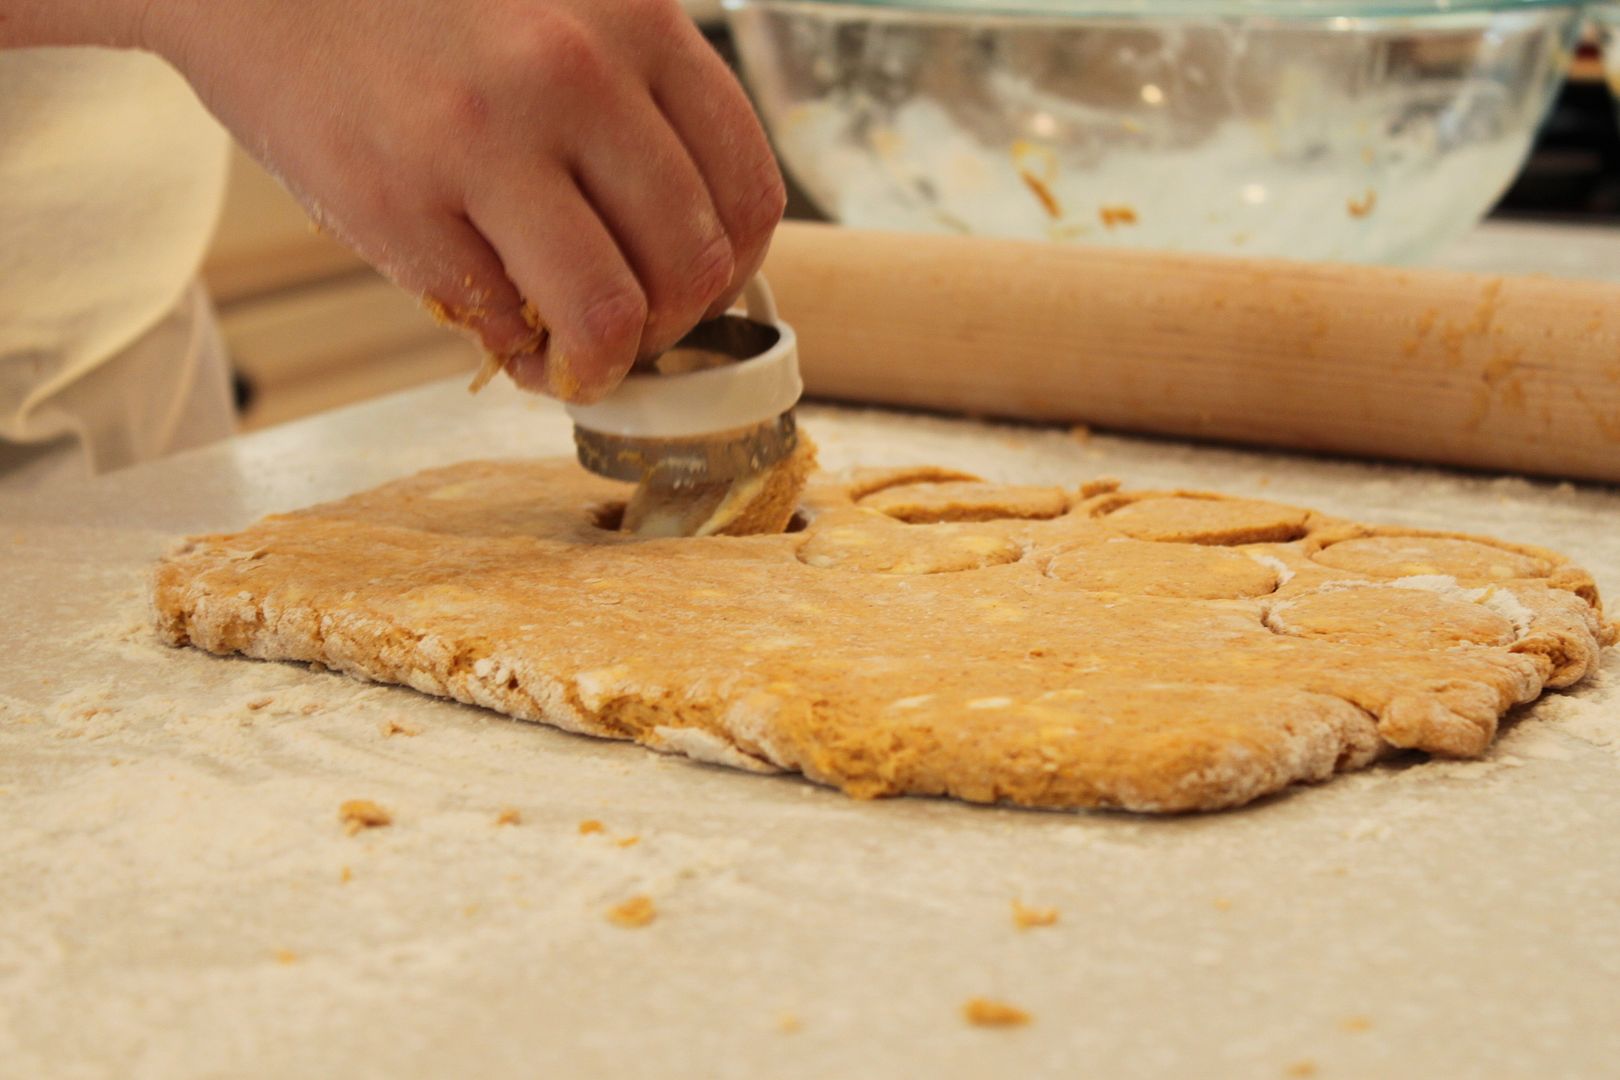
Roll into 9x5 inch rectangle again and repeat folding and rolling process one more time. Then, cut dough with a biscuit cutter. 

Photobucket

Place dough rounds, 1 inch apart, on a baking sheet lined with parchment paper or on a silpat. Chill for a few minutes in the refrigerator. Bake at 400° for 14 minutes or until golden. 

Photobucket

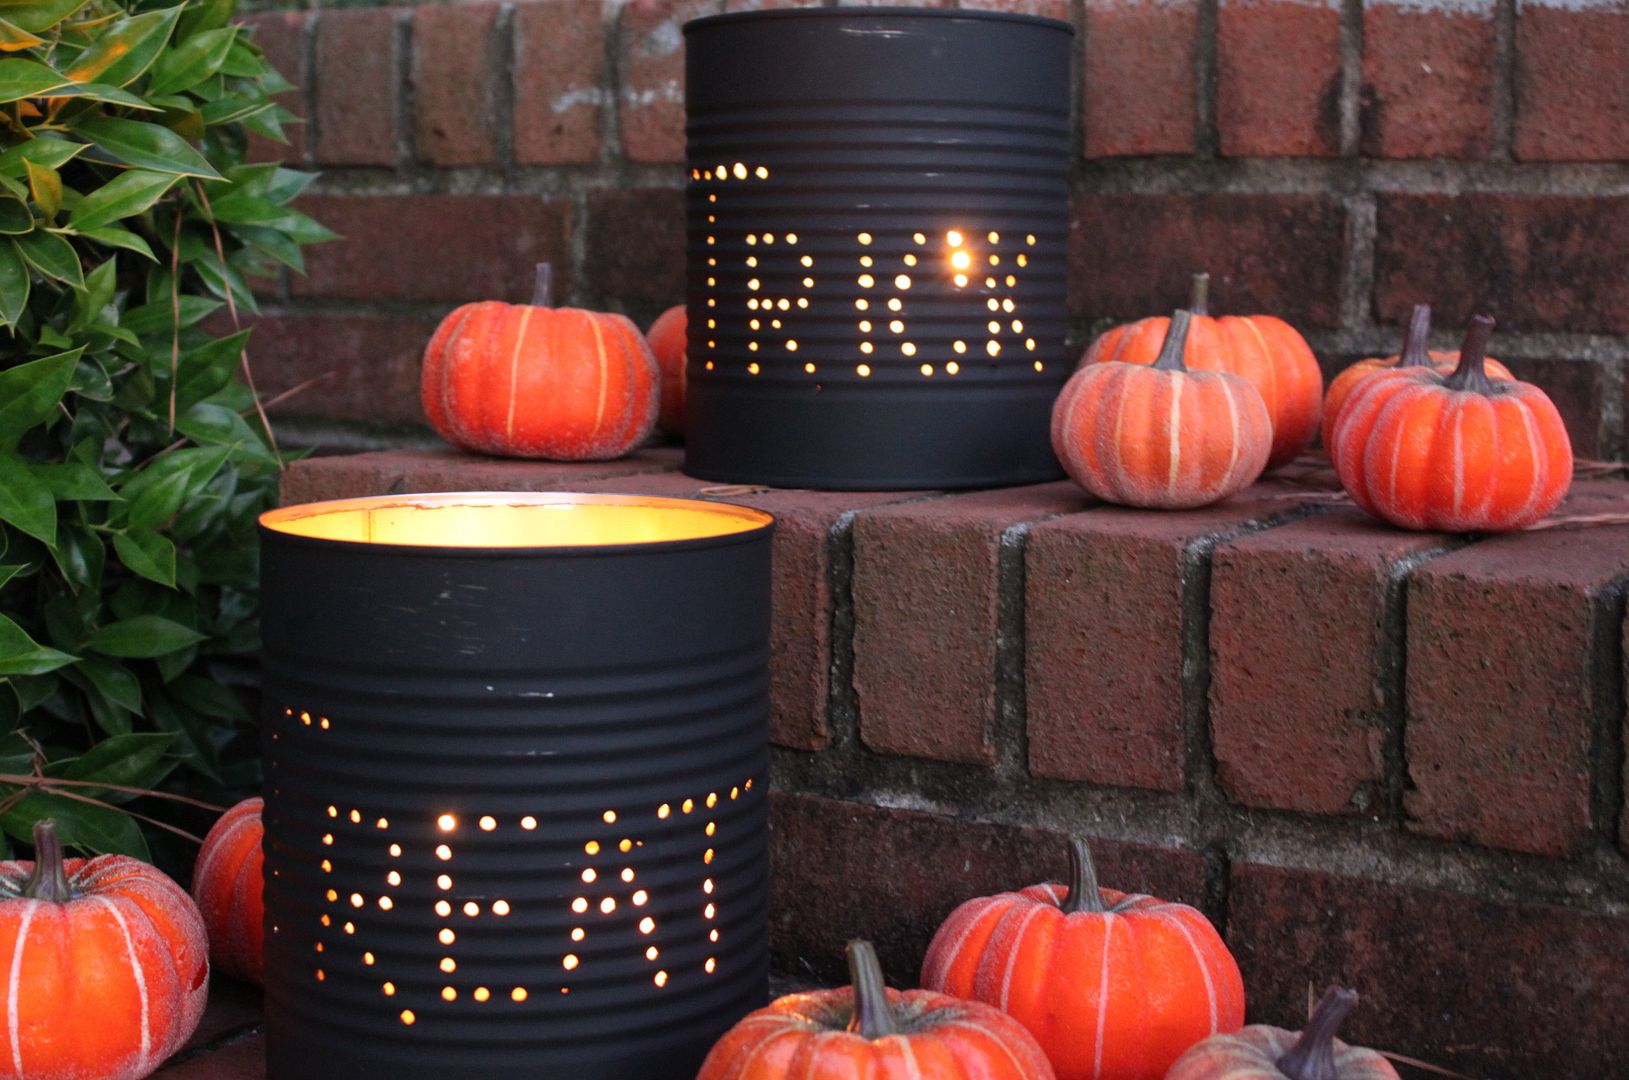
Halloween Luminaries

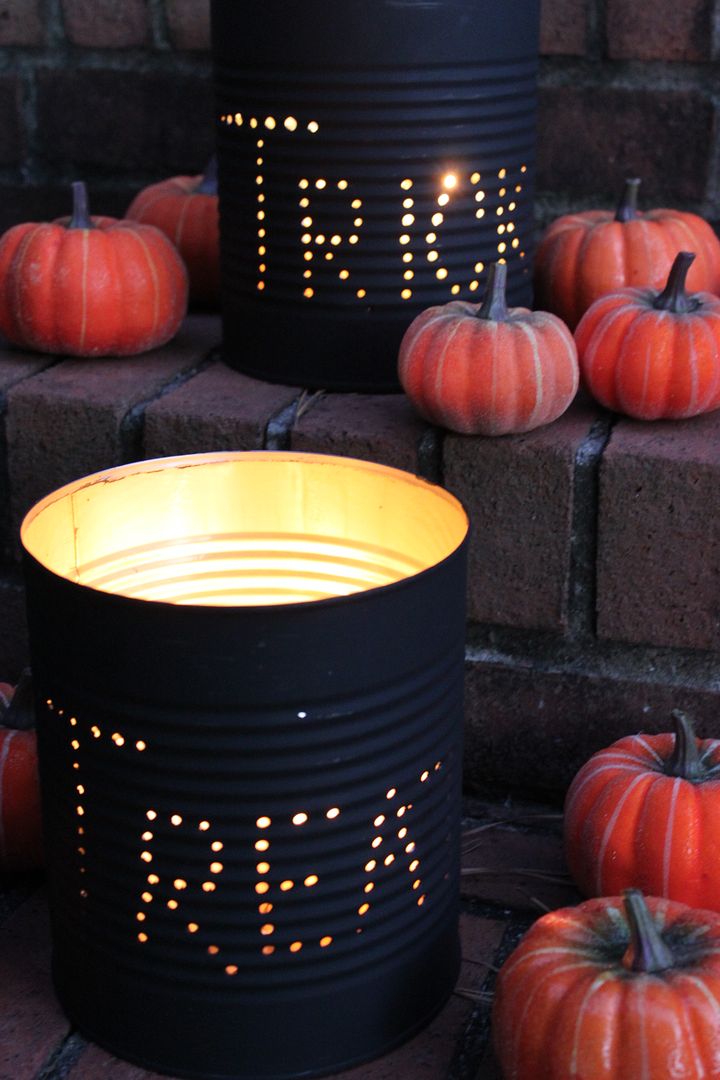
If you're looking for an easy and affordable way to decorate your home for Halloween, make these luminaries using tin cans! Place them along your walkway or front steps to light the way on Halloween. So cute and charming!  Several years ago we made these in cub scouts for Christmas Gifts and traced christmas shapes from cookie cutters.


Photobucket

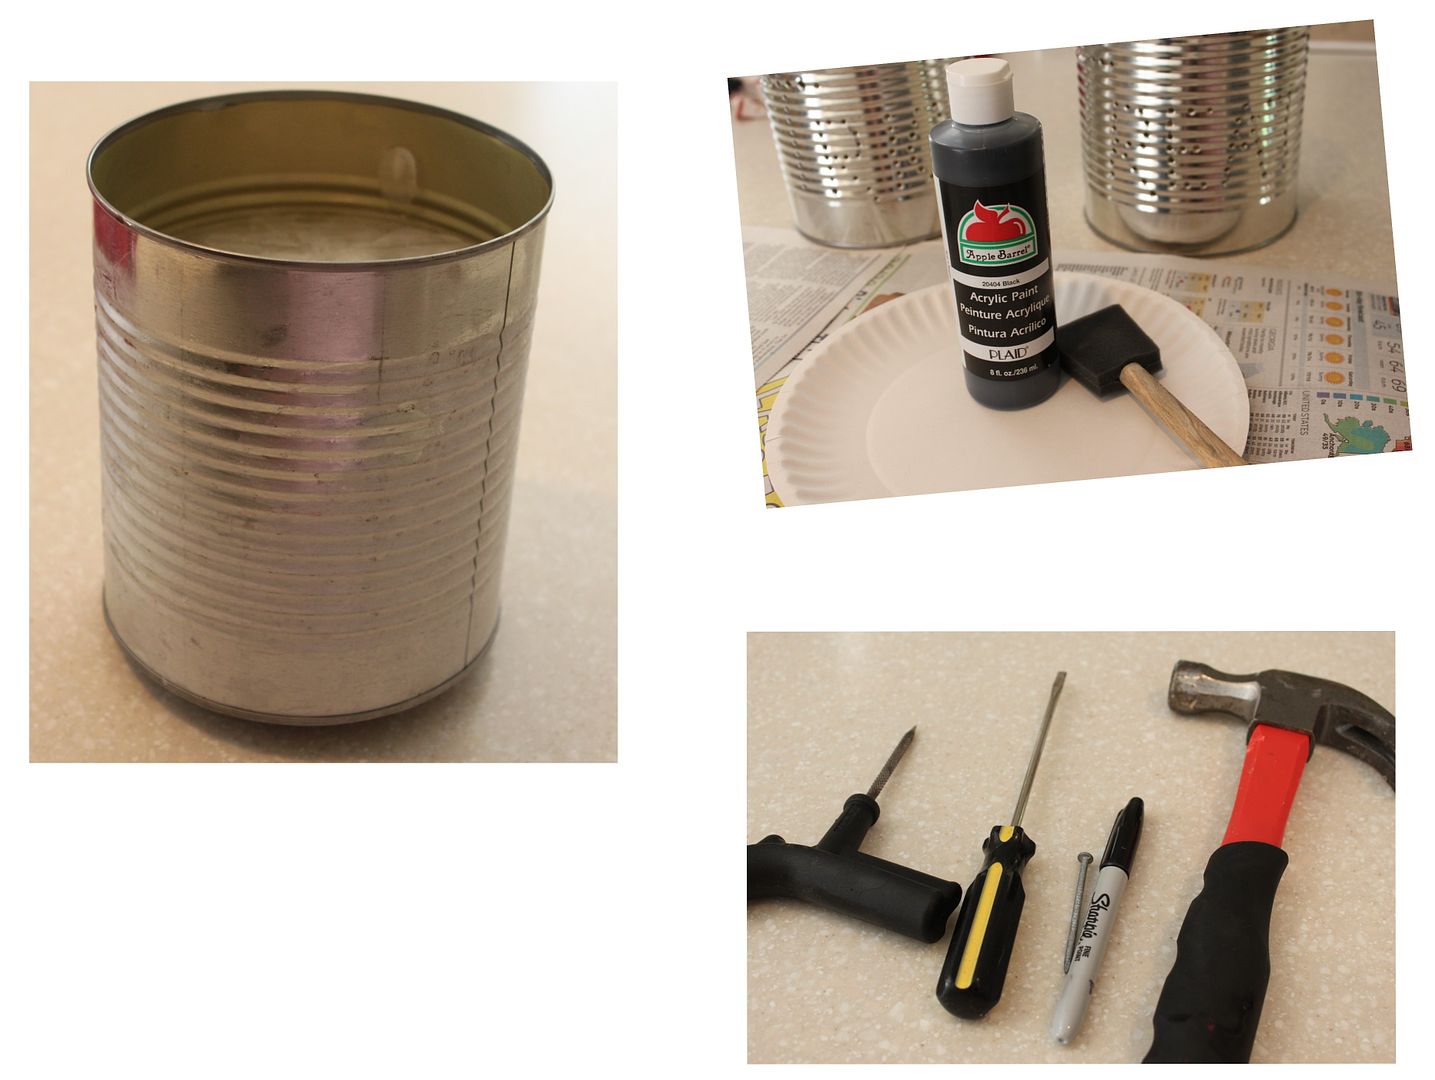
What You'll Need: 


Photobucket

* Sharpie or marker in the same color as your paint
* Clean empty tin cans {I like to use the big coffee cans, any size will work}
* Hammer and large nail or awl
* Paint
* Paint brush
* Candles


Instructions

Fill the tin can with water and place it in the freezer. When the water in the can is frozen, remove the can from the freezer.

Photobucket

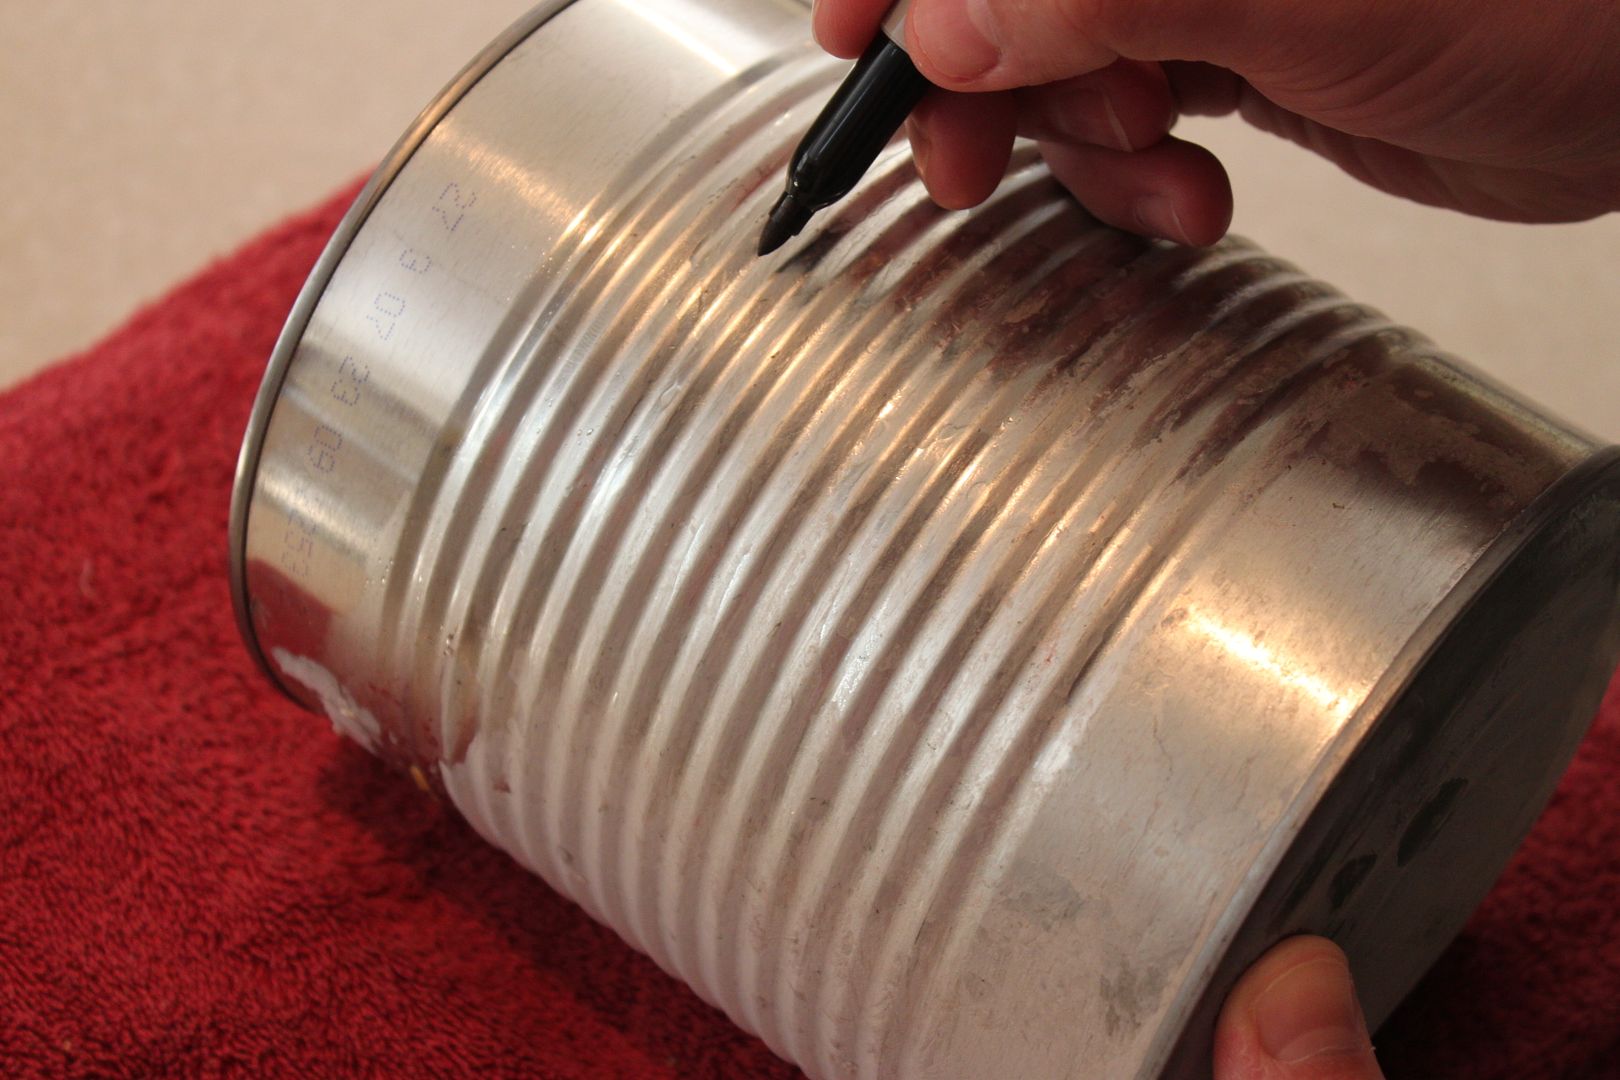
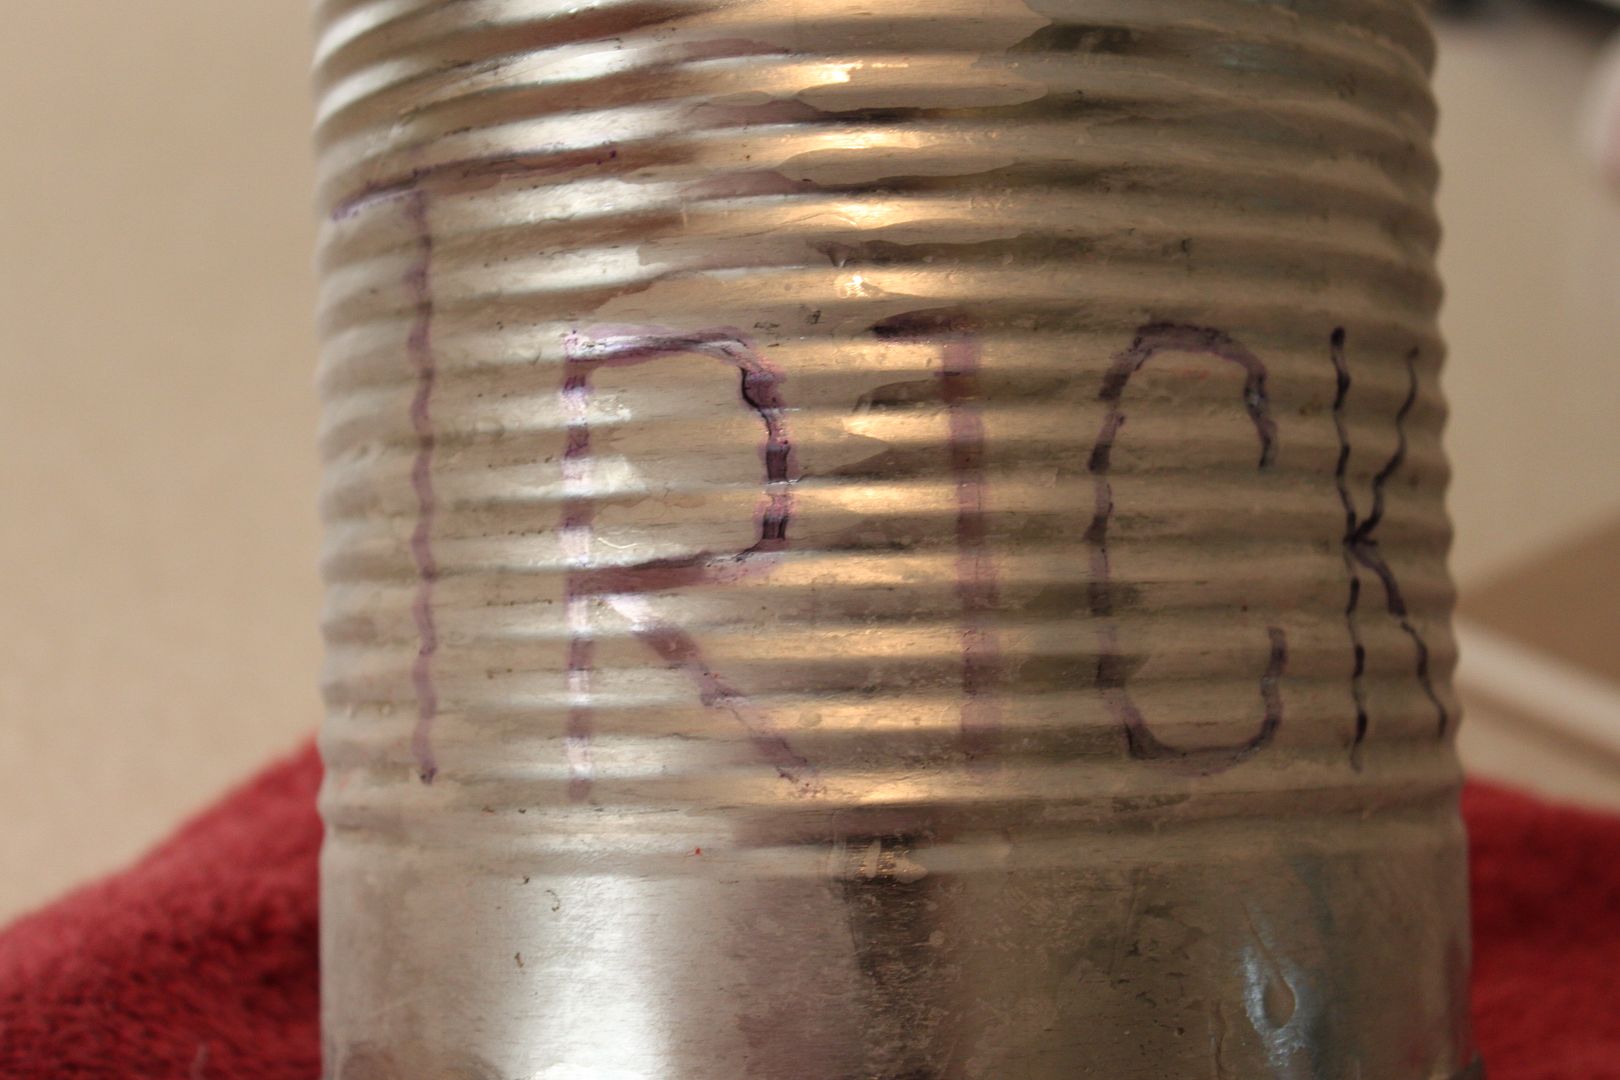
Using the marker, draw whatever image or word onto the tin can. You can freehand or print a design from the internet and then trace it onto the tin can. Keep the design simple though. Design Ideas: outline of a cat, a bat, a witch's hat, words like Boo or Happy Halloween. 

Photobucket
Photobucket

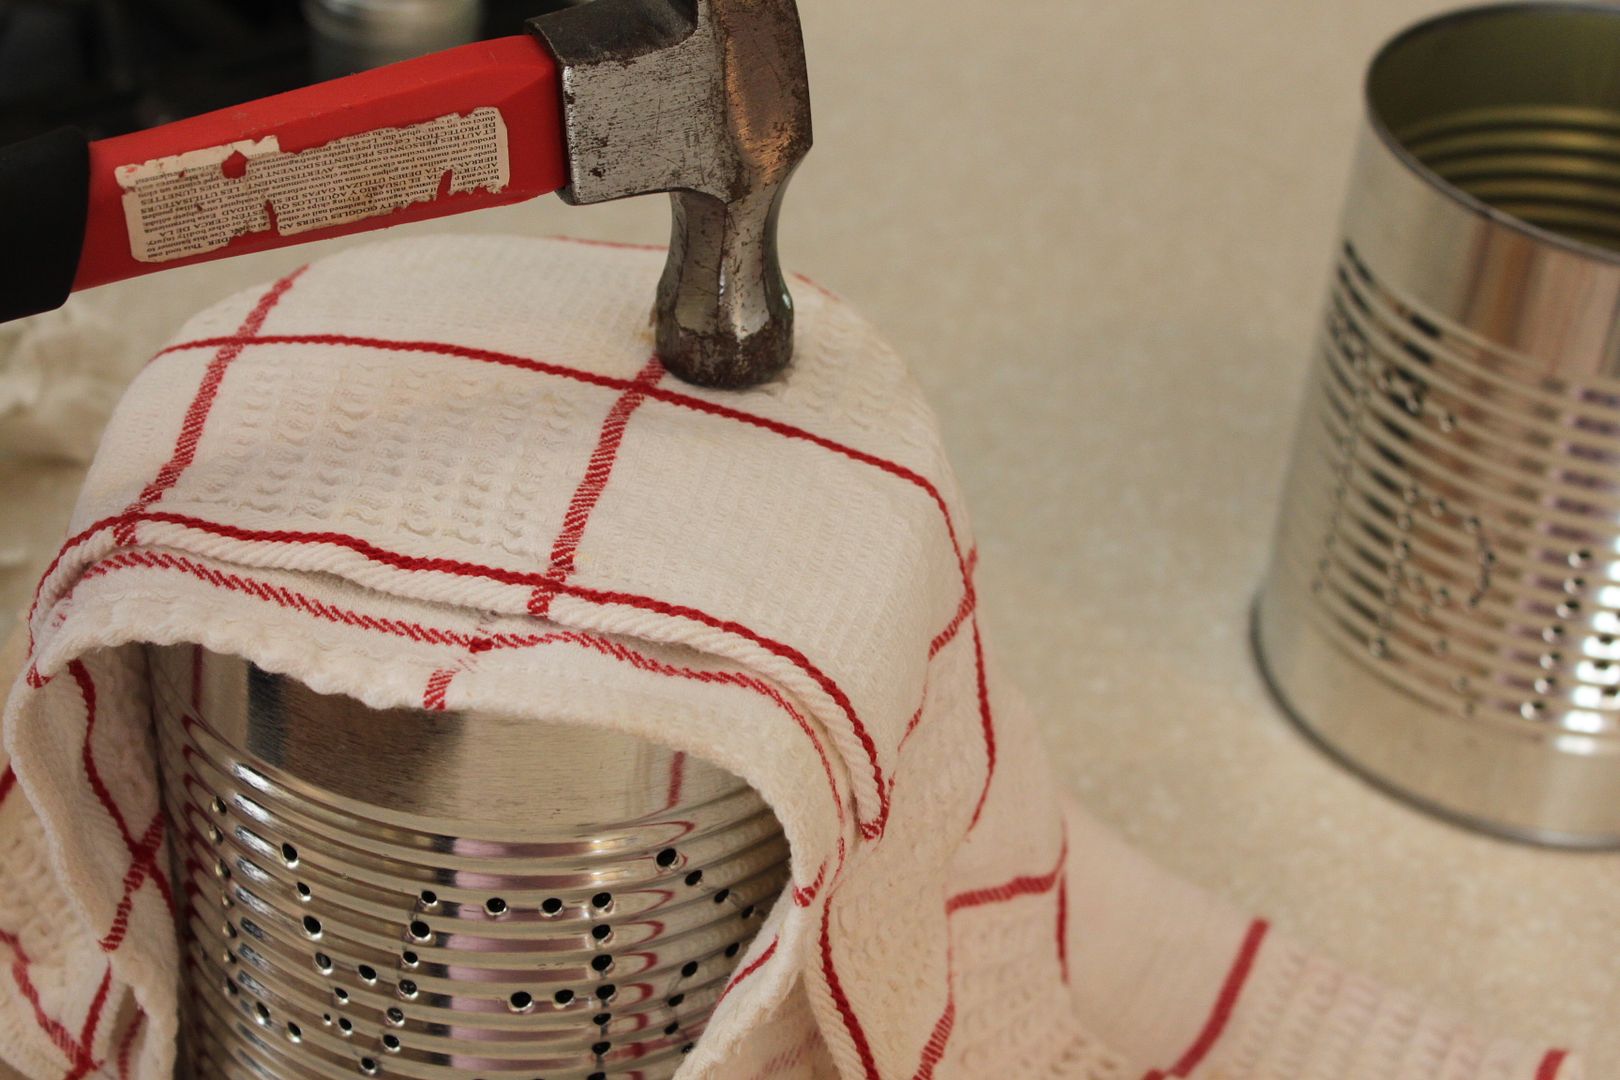
Place the tin can on a folded towel. This will help brace the tin can and reduce the impact of punching the holes with the hammer. 

Photobucket

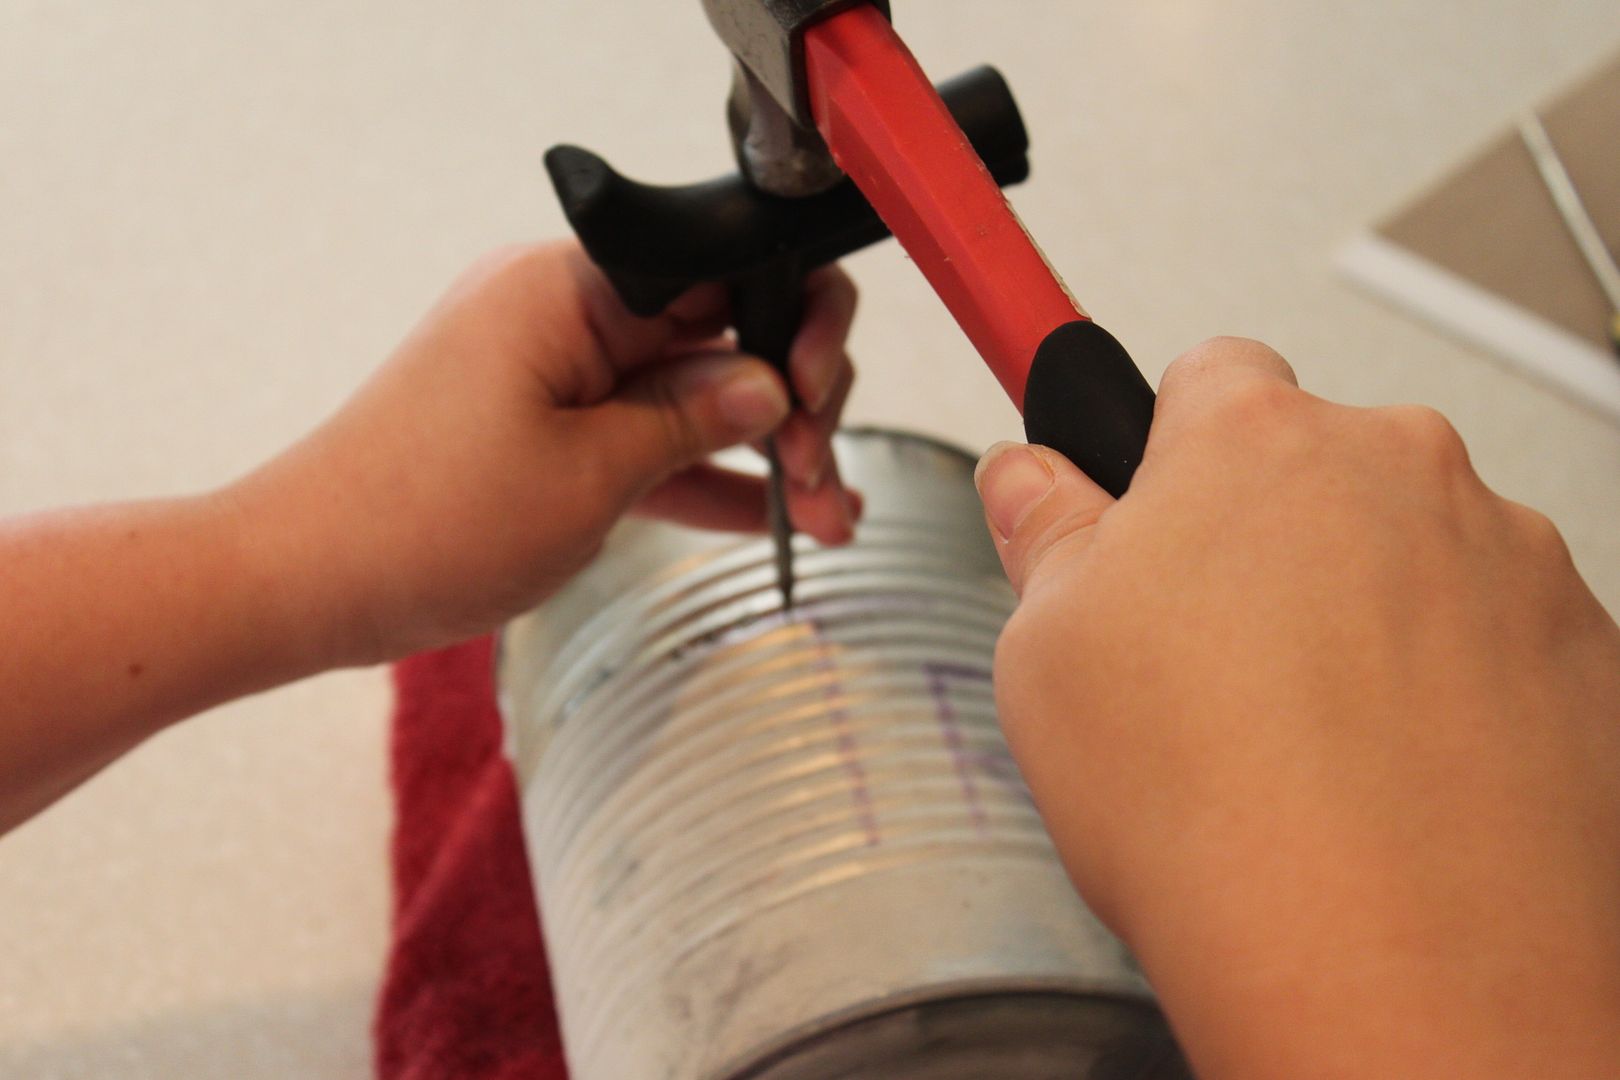
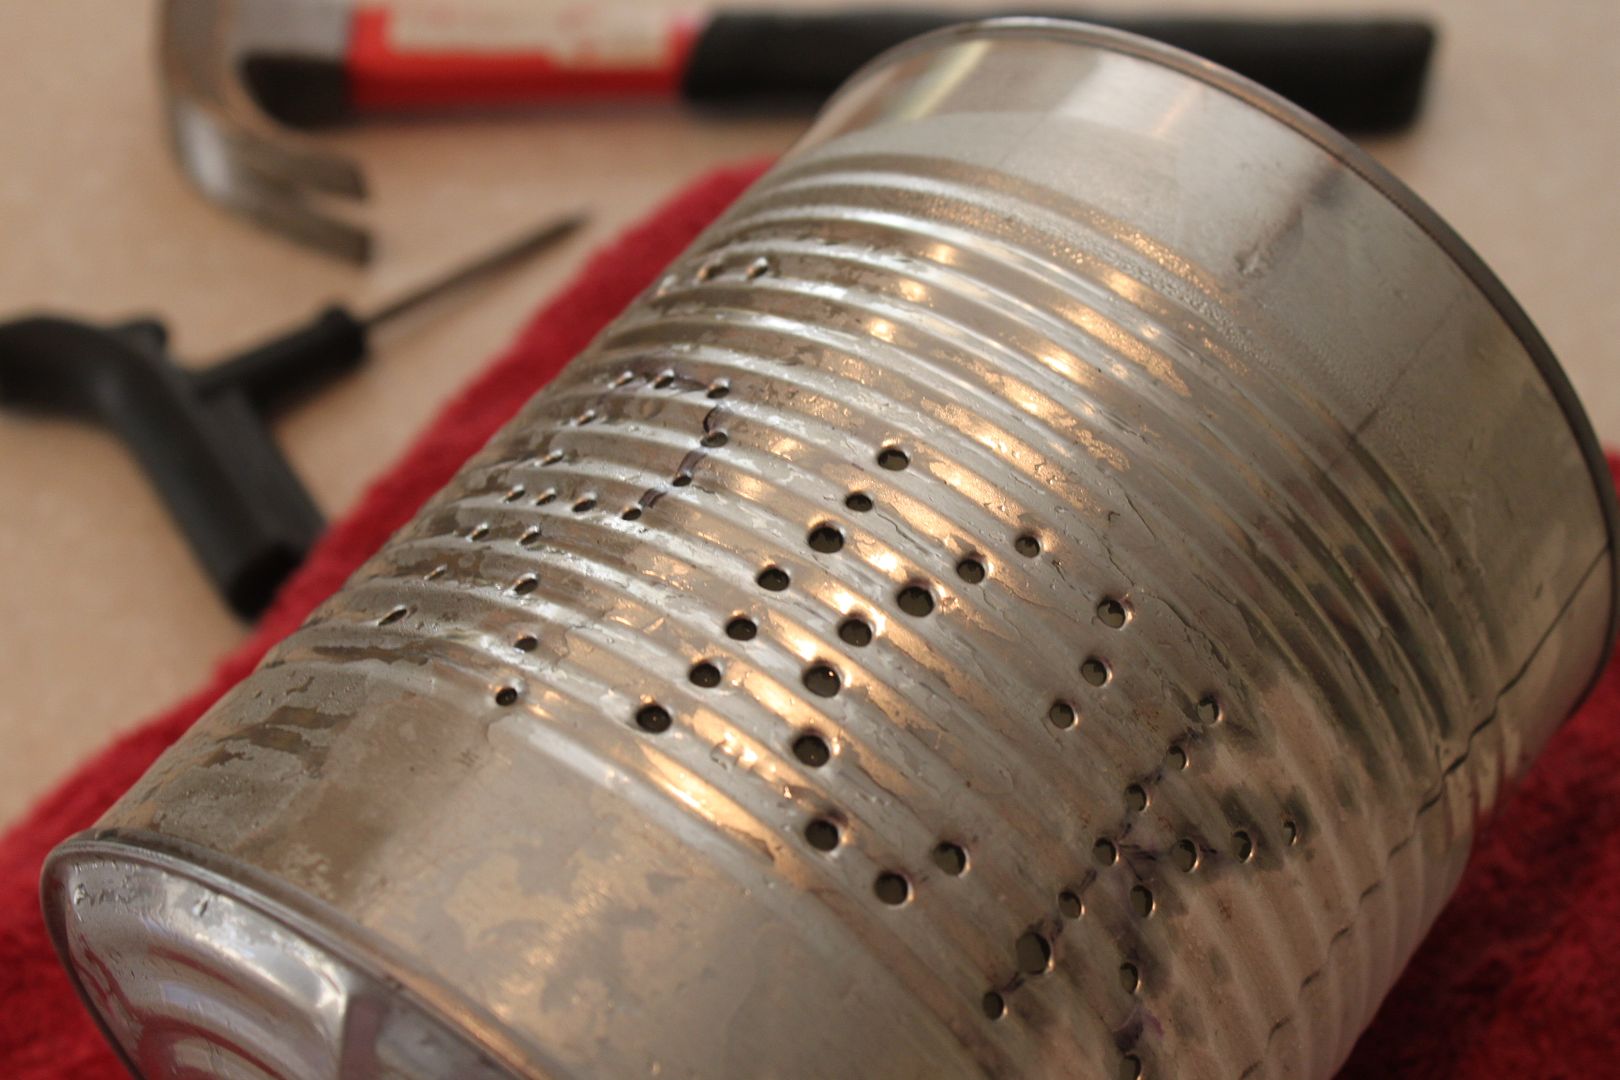
Then, use the hammer and awl {or nail} nail to puncture the design in the can. 

Photobucket

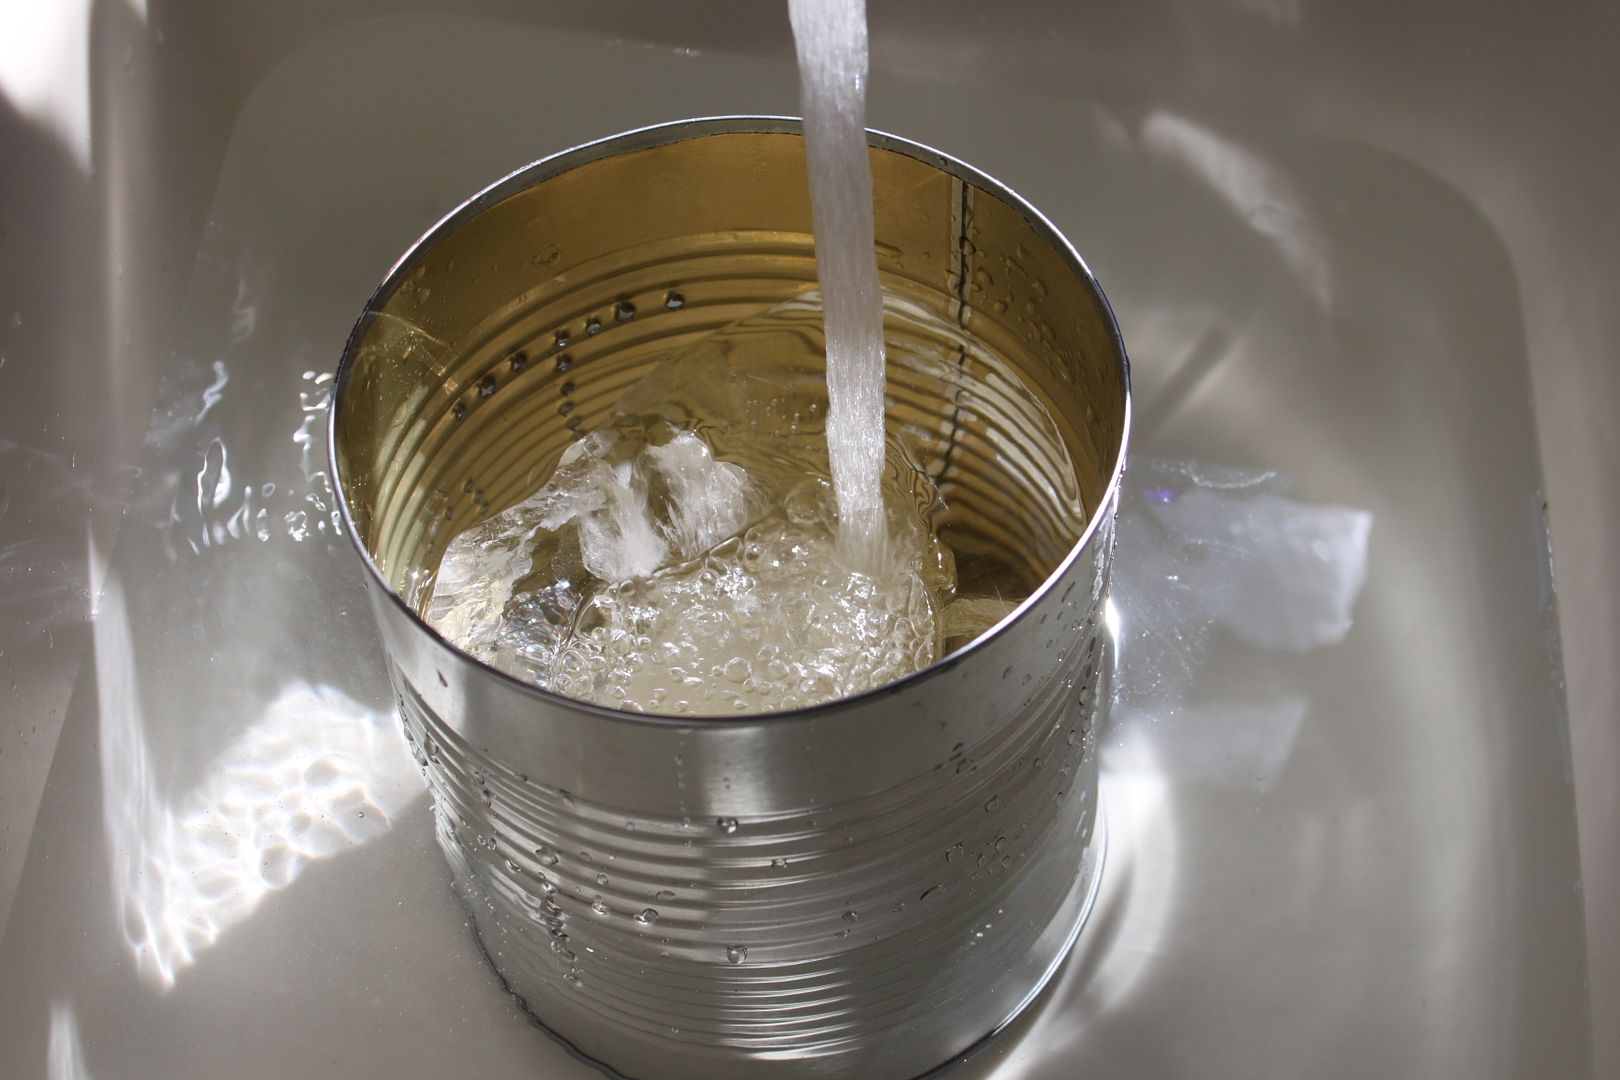
When you're done punching the holes, place the can under hot, running water to melt the ice. 

Photobucket

Also, since water expands as it freezes, the bottom of your can will probably not be level. If not, then turn the can over, cover with a towel, and hammer down the edges until the bottom of the can is level. 

Photobucket

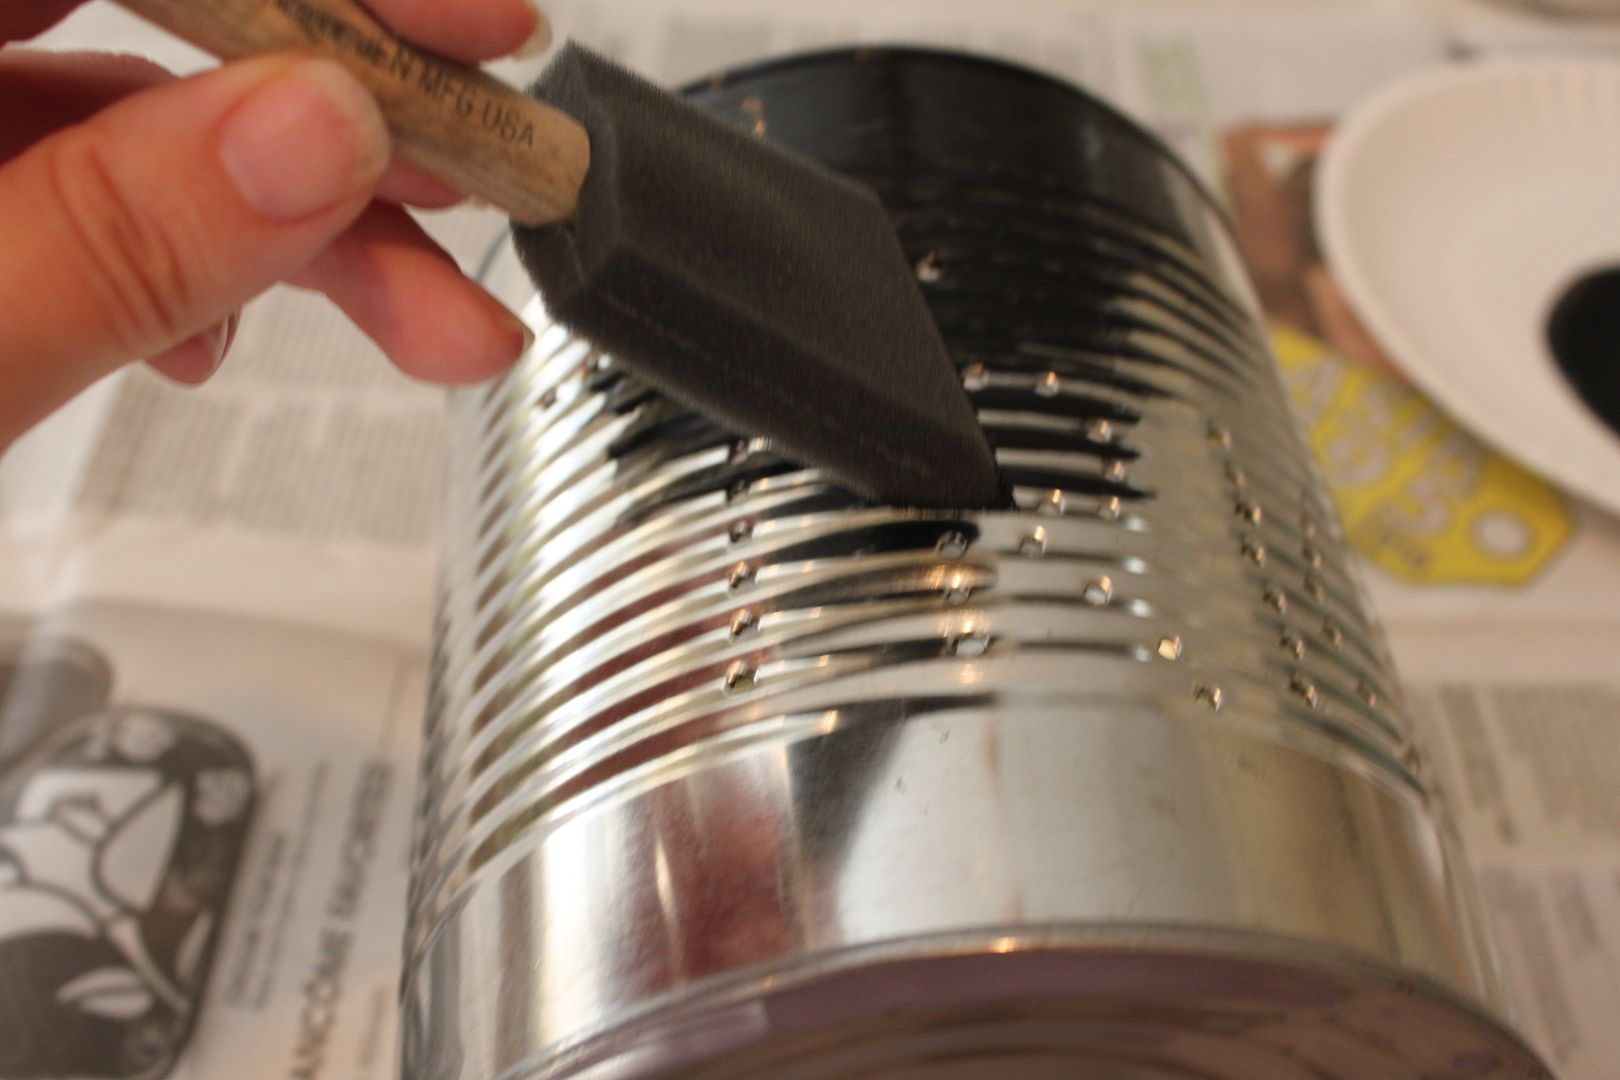
Paint the tin can using either spray paint or acrylic paint. Once the the paint is dry, you'll probably have to go back with a toothpick and poke some of the holes through on the can since the paint can clog them up. 

Photobucket


Place a candle inside the can and enjoy!

Photobucket

Homemade Eco-Friendly Cleaning Products

I was talking to a friend the other day and she was asking me about how I make my household cleaners so I decided to help spread the word.  I purchased all of the bottles at a dollar store and made the labels myself. They honestly work just as good as store bought cleaners if not better. And, there is the added benefit of no toxic chemicals, which is why I make them. Oh, and they are much cheaper than store bought. I spent $30 for all of the materials and ingredients and I have enough to make cleaners for a year or longer! Here are the recipes that I use.

Glass Cleaner
1 cup distilled white vinegar
2 cups water
1/2 tsp dish soap
10-15 drops essential oil
Spray Bottle

All Purpose Cleaner
1/2 tsp washing soda
1/2 tsp liquid Castille soap
2 cups hot water
10-15 drops essential oil
Spray Bottle

Disinfectant
Hydrogen Peroxide
10-15 drops essential oil
Spray Bottle

Hardwood Floor Cleaner
4-5 Tbsp Murphy's Oil Soap
2 Cups Water
Spray Bottle

Furniture Polish and/or Stainless Steel Cleaner
2 cups oil (vegetable or olive)
1 squeezed lemon
15 drops of lemon essential oil

Air Deodorizer
1 tsp baking soda
1tsp vinegar
2 cups water
10 drops essential oil
Spray Bottle

Sunday, October 17, 2010

Homemade Chocolate Syrup


Ingredients

Go to fullsize image
  • 1/2 cup sugar
  • 1 tablespoon baking cocoa
  • 2-1/2 teaspoons cornstarch
  • 1/2 cup water
  • 2 teaspoons butter
  • 1/2 teaspoon vanilla extract
  • 1 quart vanilla ice cream

Directions

  • In a 1-qt. microwave-safe dish, combine the sugar, cocoa, cornstarch and water until smooth. Cover and microwave on high for 3 minutes or until the mixture boils, stirring twice. Stir in butter and vanilla until blended. Serve warm over ice cream. Yield: 6 servings.
How to Freeze Corn on the Cob


Is corn on the cob one of the few vegetables your kids will actually eat? But of course it isn't nearly as good - or as fun to eat - when it comes out of a bag in the freezer or out of a can. But did you know that you can actually freeze corn on the cob while it is still attached to the cob? And it is quite inexpensive to buy plenty of ears of corn when it is in season, meaning you can enjoy corn on the cob in the middle of winter without paying an arm and a leg for it.
Try and pick ears of corn that are all similar in size. If size varies quite a bit, you will need to do them in batches. First, remove husk and silk from the corn. Break off the stem, and cut off the top end where there is no corn, if needed.
Now, you need to blanche the corn. Divide the corn into piles - small, medium and large - if you were not able to get them all the same size.
Now, blanche them in boiling water based on the following:
Small ears - boil for 7 minutes
Medium ears - boil for 9 minutes
Large ears - boil for 11 minutes.
Now, immediately remove from the boiling water and submerge them in cold water, to stop the cooking proccess. Once completely cooled, drain the corn and immediately freeze in freezer ziplocs or containers.
On cooking day: Remove corn early in the morning or the night before, so it has time to completely thaw. Boil corn in boiling water (just enough water for the corn to be submerged) for a few minutes until heated through, drain, butter and salt if desired, and serve.

Pumpkin Dinner Rolls

Pumpkin Dinner Rolls
Description: 
A soft yellow dinner roll... so tender and delicious! These are our traditional every-year Thanksgiving dinner rolls!
Yield: 
4 Dozen Rolls
Ingredients: 
1 cup sugar
1/2 cup warm water
2 cups warm milk
¼ cup butter, softened or melted (I warm it with the milk above)
2 cups mashed cooked pumpkin
2 teaspoons salt
1/2 cup wheat germ or whole wheat flour
10-12 cups all-purpose flour or bread flour
7 teaspoons dry yeast
Instructions: 
1. In large mixing bowl, combine sugar, water, milk, butter, pumpkin, and salt. Mix well.
2. Add wheat germ, 7-8 cups of the flour, and yeast. Mix, and then continue adding flour and kneading until dough is elastic and not sticky.
3. Place dough in greased bowl; grease top of dough, cover with a towel, and set in a warm place until doubled (about 60-90 minutes).
4. Punch dough down and divide into thirds. Divide each third into 16 pieces and shape into balls.
5. Place on greased baking sheets, and grease tops. (I use two 11x15-inch baking sheets, and put 24 rolls on each.) Cover and let rise until almost doubled, about 30 minutes.
6. Bake at 350 degrees for 15-20 minutes, until tops are golden. Remove to wire racks and cover with a towel. Brush tops with butter if desired, as soon as rolls are removed to the wire racks. Serve warm with butter.
Pumpkin Dinner Rolls
Additional Notes: 
Re-warm leftover rolls by wrapping securely in foil and placing in a 325 degree oven for 15 minutes. Just as good as fresh! :)
Pumpkin Dinner Rolls

Homemade Chew Granola Bars


Every homemade chewy granola bar recipe I’ve ever seen includes corn syrup and/or marshmallow cream (not ingredients we feel okay about eating).  And every pre-made granola bar I have seen at the store (even the organic ones) have ingredients I don’t like feeding my family.
I finally figured out a chewy granola bar recipe that we like!  It’s easy and includes all natural sweeteners and ingredients!   These bars are way cheaper than store bought granola bars!  Plus you can customize it according to your family’s taste and allergies!  They can be easily wrapped individually to take in the car or packed in a lunch!
Now I will say this:  I don’t recommend going overboard on these (or any) granola bar.  Unsoaked oats can do a number on your digestive system.  I just wanted to create a recipe that will help our family avoid the granola bars at the store when we need a quick, grab and go snack to take to soccer games or on trips.  I consider these to be “compromise” snacks because of the unsoaked oats, but otherwise, I couldn’t be more thrilled to have finally figured out a yummy chewy granola bar!
Homemade Chewy Granola Bars
1/2 cup peanut butter or sunbutter
1/3 cup honey
1/4 cup coconut oil (or another oil of your choice)
1 cup oats
1 cup total of any combination of:  sesame seeds, coconut flakes, sunflower seeds, dried fruit, mini chocolate chips
In a medium sized saucepan, melt together peanut butter, honey and coconut oil.
granola_bars_1
Remove from heat and add one cup of oats.  Choose your favorite combination of coconut flakes, sesame seeds, sunflower seeds, dried fruit and mini chocolate chips, to equal a total of ONE CUP.  (I just got out my one cup measuring cup and poured in the ingredients until the cup was full.)  Pour in and stir well.
Stir well, then spread mixture into a 8×8 or 9×4 pan.
granola_bars_2
Chill for two hours, then cut into bars.
granola_bars_3
Wrap in plastic wrap for a quick grab and go snack!
granola_bars_4